Before-and-After Sliding Door Content That Gets Shared (and Sells)
Key Takeaways
Creating compelling visuals is essential for home service contractors to demonstrate value to potential customers clearly and efficiently. These five strategies will help you streamline your documentation and boost your digital impact.
- Capture high-quality images consistently to build long-term trust.
- Use split-screen formats to highlight the transformation impact clearly.
- Leverage authentic onsite footage to humanize your brand presence.
- Prioritize mobile-first visual layouts for better engagement rates.
- Maintain a centralized repository of project results for campaigns.
The psychology of before-and-after content for home services
Visual transformations allow homeowners to bridge the gap between their current living situation and a desired aesthetic upgrade. When a homeowner views a project, they are effectively conducting a mental rehearsal of how your product will improve their daily routine.
Tapping into the homeowner's future self visualization
Prospects rarely buy a door; they buy the way the light filters through their living space or the smooth operation of a new sliding glass doors. By showing exactly how a room feels after a change, you validate their intent to invest in an upgrade.
Building trust through visible craftsmanship
Transparency in your project execution shows you have nothing to hide behind heavy staging. When you demonstrate quality, homeowners feel they can rely on your team to respect their property and complete the work without incident.
Reducing friction in the long-tail decision-making process
Decision fatigue often plagues homeowners during long renovation cycles, leading to abandoned carts or stalled sales inquiries. Providing a clear grid of transformation options can move a customer from questioning to action quickly.
| Project Type | Lead Time | Visual Impact Score |
|---|---|---|
| Room Divider | 2 Weeks | High |
| Closet Conversion | 1 Week | Medium |
| Exterior Slider | 3 Weeks | Very High |
By simplifying the visual data, you allow the homeowner to weigh their priorities without getting overwhelmed by technical specifications. This simplified approach provides natural healing for their decision anxieties.
Turning mundane door replacements into high-impact aesthetic transformations
Even standard replacements look better when formatted with care, yet you shouldn't over-promise on the results. High-impact transformations happen when you balance the utility of the hardware with the design goals of the room, as seen in the pioneering spirit of top-tier residential work.
Essential photography techniques for sliding door installations
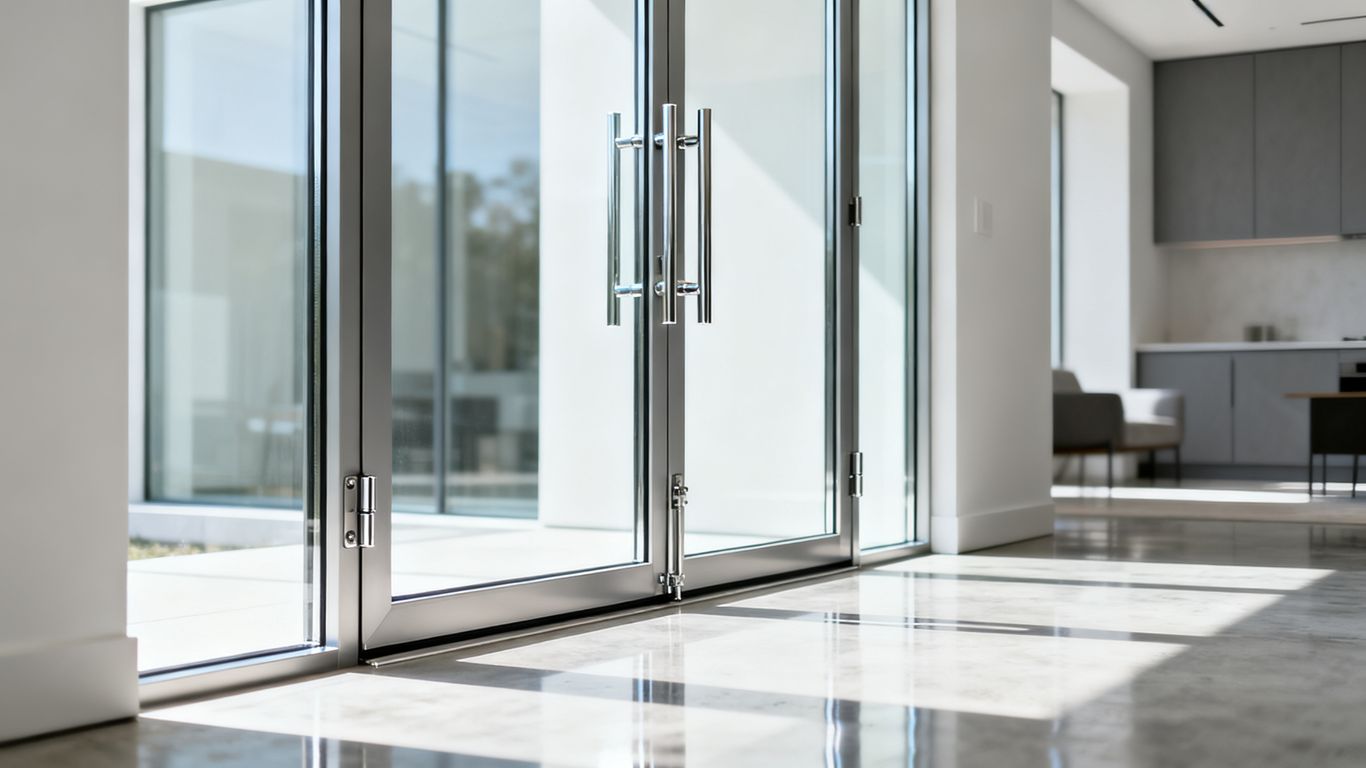
Consistent documentation starts with a standardized approach at the job site. If your field team understands why these images matter, they will treat every installation as an opportunity to secure market-leading content.
Maintaining consistent camera height and focal length
Keeping the lens at chest height prevents the warping often seen in wide-angle smartphone shots. Consistency ensures that when your potential customers view your sliding door company before after content, they can accurately gauge the space being renovated without visual distortion.
Mastering natural light to showcase hardware quality
Natural light exposes the finish and texture of aluminum or glass that artificial room lights often wash out. You should always aim to open shades and turn off internal lamps to prevent strange color casts on your hardware.
Clearing the site to prevent "construction clutter" distractions
A cluttered site is the fastest way to lose a potential lead. When the background is clear, the viewer focuses entirely on the door, not the pile of discarded cardboard in the corner.
Simple cleanup tasks, like tucking away extension cords, significantly improve your conversion rates on social media. This professional attention to detail reinforces the idea that you are a clean, methodical operator.
Balancing wide-angle transformations with macro detail shots
Showing the whole room is vital, but so is highlighting small, technical elements like tracks or handles. Combining these perspectives helps customers feel they truly understand what they are getting for their money.
Designing visuals for high-conversion social media ads
Ad creative needs to arrest attention within the first few seconds of a mobile scroll. If the visual does not communicate the value proposition immediately, the algorithm will bury your content.
Using split-screen layouts to stop the mobile scroll
Split-screen designs remain the most effective layout for proving that an upgrade occurred. By keeping the before shot on the left and the after on the right, you remove any need for the viewer to guess what changed in the environment.
Incorporating brand overlays without obscuring the renovation
Overlaying your logo or a short text headline ensures brand recognition without blocking the finished work. You want the viewer to remember your company, but the visual of the sleek, functional room is what gets them to click.
Leveraging motion graphics for interactive "reveal" animations
Motion keeps the eye engaged longer than static images ever could. Consider these essential elements for high-impact social ads:
- Smooth sliding animation showing the door opening.
- Text callouts identifying specific finish materials.
- Subtle zoom-ins on the hardware finish.
- Quick transitions between the old and new styles.
These additions help the viewer visualize the movement, which is critical for custom sliding doors where function is as important as form.
Avoiding low-light "before" shots that decrease ad quality scores
Dark or blurry images signal amateurism to the ad platform and potential customers alike. Ensure you schedule a workshop or training session to teach your team specifically how to adjust exposure settings on their company phones.
Scaling your sliding door company before after content with paid media
Once you have a library of approved shots, you need a strategy to distribute them across platforms. Use the data from your initial testing to prioritize assets that actually drive leads rather than just impressions.
Testing carousel formats versus static images on Meta
Carousels allow you to show the progression of a single project step-by-step. Some audiences prefer a single before-and-after punch, while others engage more with a story that shows the process from empty wall to finished door.
Retargeting prospects who engage with local renovation videos
People who watch your installation videos have demonstrated more purchase intent than those who just see a static ad. Use this high purchase intent audience to show your more technical, benefit-driven product videos.
Using dynamic creative optimization to isolate top-performing shots
Allowing the ad platform to test different combinations of your photos helps you identify which specific door styles resonate with your market. You might be surprised to find that your entry-level closet door pulls more engagement than your high-end room dividers.
Tracking lead quality metrics linked to specific project transformations
Connect your CRM data back to the original ad creative to understand which projects are actually profitable. You can explore 10 powerful testimonial advertising examples to see how others link visual proof to their bottom-line performance indicators.
Integrating project portfolios into your conversion-focused website
Your website is the destination for all that paid traffic, and it must act like a digital showroom. A messy gallery will cause your bounce rate to climb as users struggle to find relevant photos of your work.
Placing high-impact galleries above the fold on service pages
If a user has to scroll to see a successful installation, you are losing valuable time. Keep your most impressive case studies front and center to immediately establish credibility when a user clicks through from an ad.
Connecting visual proof directly to high-intent call-to-action buttons
Every photo in your portfolio is a sales opportunity that shouldn't be missed. By placing a clear request button right near your photos, you remind the user that they can get similar results in their own home.
Ensuring image loading speeds do not compromise SEO ranking
Large image files can drag down your site speed, which the search engines penalize for desktop and mobile performance. Use modern formatting like WebP and ensure you are serving properly scaled versions of your photos to keep the site usage snappy.
Choosing intuitive gallery formats over clunky automated sliders
Users prefer to control their own experience rather than fighting an auto-scrolling gallery. Use clean, grid-based layouts that allow a potential client to click and enlarge details at their own pace.
Building an authentic content engine for your field team
Your technicians are on the ground every day, making them the best source for genuine, unfiltered content. Providing them with a simple script or workflow will make this process sustainable rather than an annoying afterthought.
Implementing a standardized content workflow for installation technicians
Create a checklists that the lead installer completes before packing up. If you give them a set of "shot requirements," they stop thinking about how to frame the photo and focus on hitting the targets.
Creating customer-perspective stories using smartphone footage
Sometimes, the best content comes from simple, candid moments. If your client is happy with the work, ask them to talk for fifteen seconds about their favorite part of the upgrade while your installer records it on their device.
Addressing common installation pain points through visual storytelling
If your customers often have questions about how a track works, make that the focus of a quick explainer video. Showing the solution to a common doubt is a powerful way to reduce the sales cycle duration.
Developing an evergreen library of assets for long-term ad campaigns
Don't just launch a photo once; recycle your best assets every quarter. By keeping a master folder, you ensure that your marketing team always has something fresh to pull from without needing to visit a job site themselves.
Conclusion
Mastering your visual presence in the home service market requires a blend of intentional photography, strategic ad placement, and consistent content production. By treating every installation as a marketing asset, you can build a library that justifies your reputation, attracts more high-value clients, and reduces the friction in your sales. Start standardizing your documentation today to see the difference in your long-term growth.
Frequently Asked Questions
How often should I update my portfolio?
You should aim to refresh your top-level project photos at least quarterly to keep your website looking modern and relevant to current design trends.
Do I need a professional camera for these photos?
Modern smartphones are more than capable of producing high-quality web visuals, provided you focus on lighting, clean backgrounds, and steady camera levels.
What makes a before-and-after photo set effective?
An effective set highlights the same exact angle, lighting, and focal length in both shots, making the difference in the renovation the only variable that changes.
How can I get clients to agree to photos?
Most homeowners are happy to have their property showcased if you ask politely and mention that it highlights the beautiful changes they have made to their home.
Should I include construction crew in the photos?
It is often better to keep the focus on the finished product, but including a friendly crew member can add a human element that reinforces a culture of professionalism and care.
Is it okay to edit these photos afterward?
Light editing to adjust brightness, contrast, or remove stray construction debris is expected in professional marketing, as long as it does not misrepresent the final install quality.
How do I handle dark rooms where photos look grainy?
Use extra portable LED lighting if possible, or wait until the time of day when natural light is most abundant; avoid using the built-in phone flash as it often creates harsh shadows.